GE Electric Range GRF500PVES: A Comprehensive Guide
Updated March 26, 2026, at 02:48:20, this guide details the GRF500PVES, referencing the official User Manual for complete operational instructions and safety guidelines.
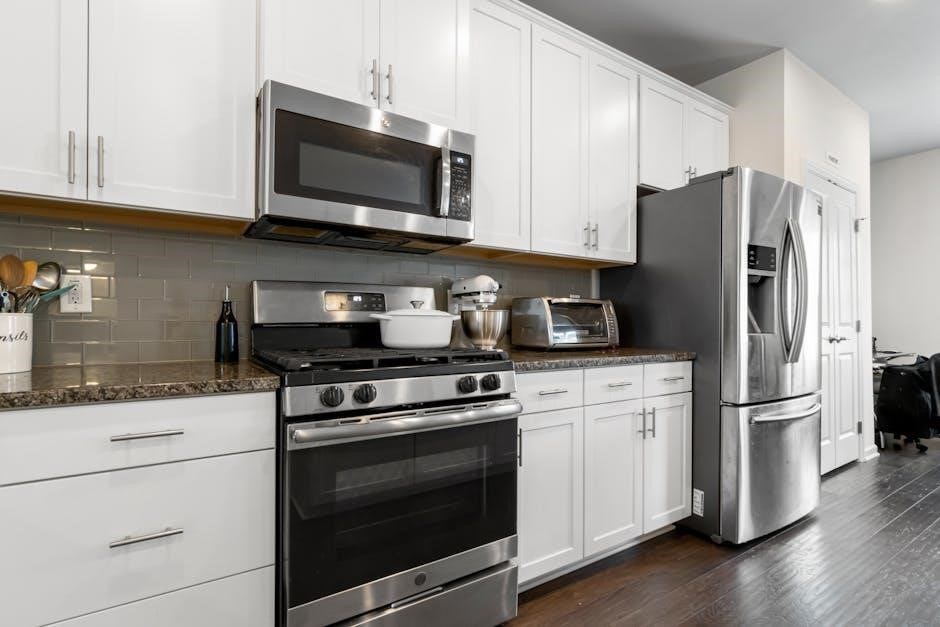
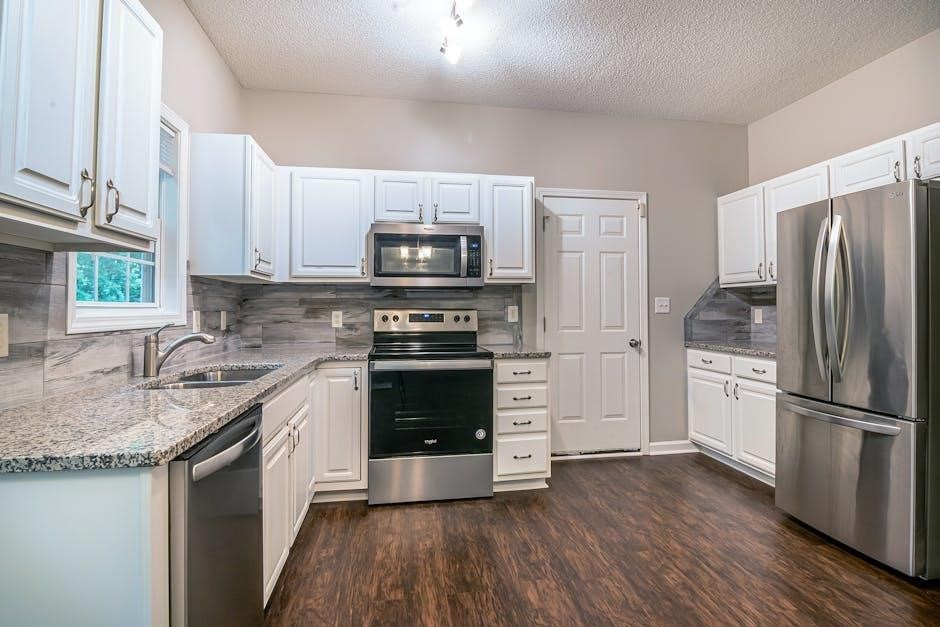
The GE GRF500PVES electric range is a popular choice for modern kitchens, offering a blend of functionality and convenience. This model, detailed in the official User Manual, provides a spacious oven and a smooth cooktop surface designed for efficient cooking. Understanding its features is key to maximizing its performance and ensuring safe operation.
This guide serves as a companion to the comprehensive User Manual, offering detailed explanations of each function. The GRF500PVES boasts several cooking modes, including bake, broil, and a self-cleaning cycle, all controlled through an intuitive control panel. Familiarizing yourself with these controls, as outlined in the manual, will unlock the full potential of your range.
Prior to first use, carefully review the safety precautions and warnings detailed within the User Manual. Proper installation, ventilation, and adherence to safety guidelines are crucial for preventing hazards and ensuring long-lasting performance. This range is designed for household use and should be operated according to the manufacturer’s instructions.
Understanding the Control Panel
The GE GRF500PVES control panel, thoroughly explained in the User Manual, features a digital display and intuitive controls for effortless operation. The numeric keypad allows for precise temperature setting and timer programming. Dedicated function buttons provide direct access to baking, broiling, and self-cleaning modes. The manual details each button’s specific function, ensuring users can easily navigate the range’s capabilities.
The display clearly shows the selected cooking mode, temperature, and remaining cook time. Control Lock functionality, described in the User Manual, prevents accidental operation, especially important in households with children. The Delay Bake feature, also detailed, allows for pre-programming cooking start times.
Understanding the indicator lights is crucial; they signal when the oven is preheated, actively cooking, or undergoing a self-clean cycle. Refer to the User Manual for a complete explanation of all control panel indicators and their corresponding meanings, maximizing your control and cooking precision.
Safety Precautions & Important Warnings
The GE GRF500PVES User Manual emphasizes several critical safety precautions. Always ensure proper ventilation during operation to prevent carbon monoxide buildup. Never use abrasive cleaners on the cooktop or oven interior, as they can cause damage. Exercise extreme caution when using the broil function due to high temperatures.
The manual warns against modifying the appliance or attempting repairs yourself; contact a qualified technician for servicing. Keep flammable materials away from the range, and supervise children closely when the appliance is in use. Disconnect power before cleaning or performing maintenance, as detailed in the manual.
Be mindful of residual heat after cooking; allow surfaces to cool before touching. The self-clean cycle generates intense heat – keep the kitchen well-ventilated and avoid contact during operation. Thoroughly review all warnings in the User Manual before initial use to ensure safe and responsible operation of your GRF500PVES range.
Operating the GE GRF500PVES Range
Refer to the User Manual for detailed instructions on utilizing the cooktop, oven functions (bake, broil), and specialized features of your GRF500PVES model.
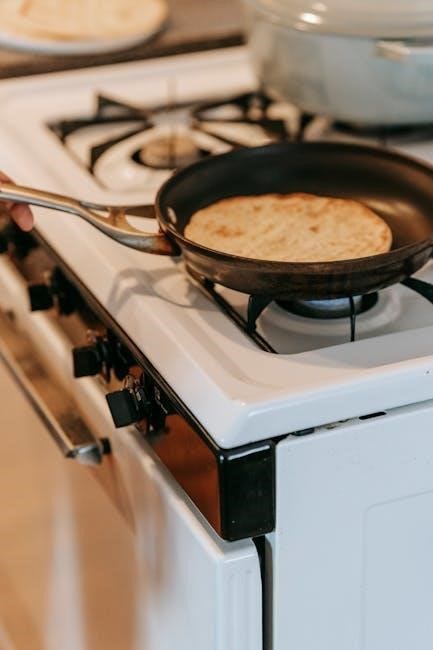
Using the Bake Function
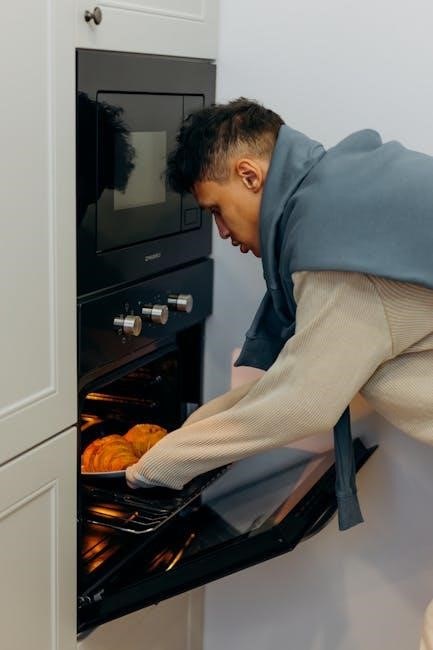
To initiate baking, first ensure the oven racks are positioned correctly, consulting the User Manual for optimal placement based on your baking needs. Press the ‘Bake’ pad on the control panel; the display will prompt you to enter the desired temperature. Utilize the number pads to input the temperature, then press ‘Bake’ again to confirm.
For precise cooking, the User Manual recommends preheating the oven. The preheat indicator light will illuminate, signaling when the oven has reached the set temperature. Carefully place your food inside, and set the desired baking time using the timer function. Remember to always use oven mitts when handling hot cookware. The User Manual provides detailed baking guidelines for various food types, ensuring optimal results. Adjust baking time and temperature as needed, referencing the manual for specific recommendations.
Utilizing the Broil Function
To broil effectively, the User Manual advises positioning the oven rack in the highest or second-highest position for most foods. Press the ‘Broil’ pad on the control panel. The display will ask for the desired broil level – ‘High Broil’ for faster cooking and searing, or ‘Low Broil’ for more delicate foods. Select your preferred level.
Always keep the oven door slightly ajar during broiling, as detailed in the User Manual, to prevent overheating and ensure proper ventilation. Place food on a broiler pan, ensuring it’s not touching the heating element. Monitor food closely during broiling, as it cooks rapidly. The User Manual provides specific broiling times for various foods. For safety, never leave the oven unattended while broiling. Refer to the manual for detailed instructions and precautions regarding broiling different food types.

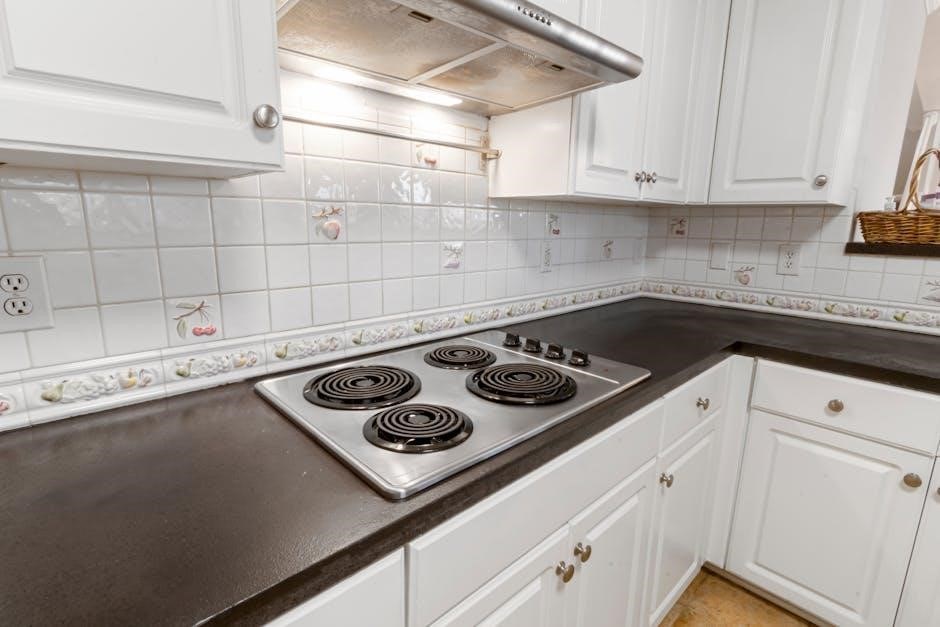
Understanding Cooktop Elements
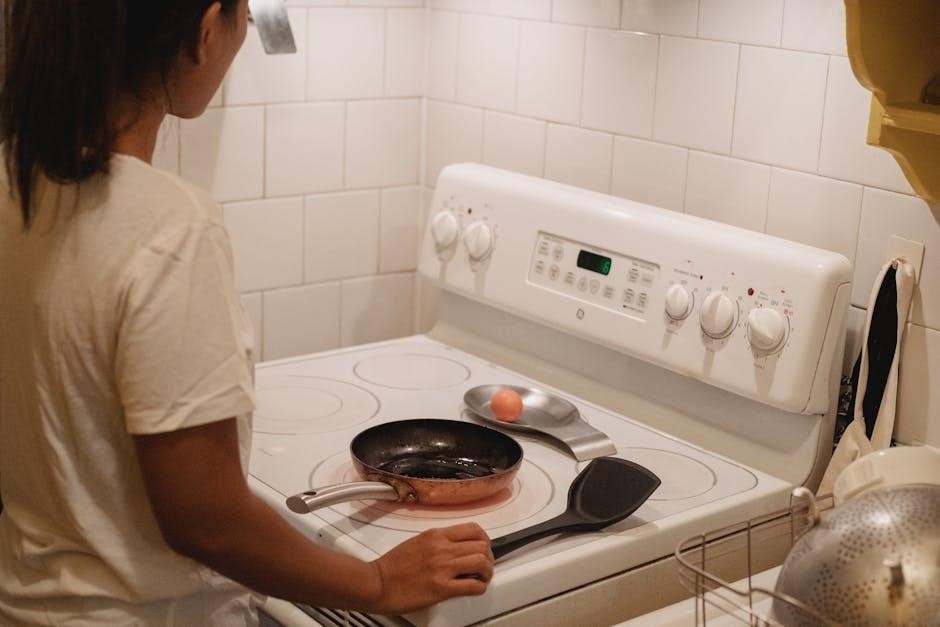
The GE GRF500PVES cooktop features four radiant heating elements, as outlined in the User Manual. These elements heat up quickly and provide consistent heat for various cooking tasks. The User Manual details element sizes and wattage: a large element for boiling, a medium element for simmering, and two smaller elements for keeping food warm or smaller pans.
Control knobs correspond to each element, offering precise heat control from ‘Off’ to ‘High’. The User Manual emphasizes using cookware with flat bottoms for optimal heat transfer. Avoid placing empty cookware on a hot element. Always ensure elements are cool before cleaning. The manual warns against using abrasive cleaners that could damage the cooktop surface. Refer to the User Manual for specific cleaning recommendations and safety precautions regarding cooktop element usage.
Self-Cleaning Cycle Operation
The GE GRF500PVES offers a self-cleaning cycle, detailed in the User Manual, for convenient oven maintenance. Before initiating, remove all racks, cookware, and any loose debris. Ensure the oven door can fully lock; the User Manual stresses this safety feature. Select the desired cleaning cycle length – light, medium, or heavy – based on soil level, as explained in the User Manual.
The cycle heats the oven to extremely high temperatures, burning off food residue. The User Manual warns of potential smoke and odor during operation; adequate ventilation is crucial. Do not open the oven door until the cycle is complete and the oven has cooled. The User Manual advises wiping away any remaining ash after cooling. Always consult the User Manual for complete safety instructions and troubleshooting tips regarding the self-cleaning function.
Features & Settings Explained
The User Manual comprehensively details the GRF500PVES’s features, including Delay Bake, Control Lock, Temperature Calibration, Sabbath Mode, and the convenient Warm Hold function.
Delay Bake Feature
The Delay Bake feature, as outlined in the GE GRF500PVES User Manual, allows you to conveniently schedule baking to begin at a later time. This is exceptionally useful for meal preparation when you’re not immediately available to start cooking. To utilize this function, first, set your desired baking temperature and cook time.
Then, press the “Delay Bake” pad and input the number of hours you want to delay the start time. The display will show the estimated completion time. Remember to press “Start” to activate the delay.
Important considerations: Perishable foods should not be left unattended for extended periods. The manual advises against using Delay Bake with recipes containing ingredients that spoil quickly. Always ensure the oven door is fully closed for the feature to operate correctly, and avoid opening it during the delay period to maintain consistent temperatures.
Control Lock Mode
The Control Lock Mode, detailed in the GE GRF500PVES User Manual, prevents unintended operation of the range, particularly important in households with children. To activate, press and hold the “Control Lock” pad for approximately three seconds until a lock indicator illuminates on the display panel. This disables all control functions, rendering the range inoperable except for the oven light.
To deactivate Control Lock Mode, repeat the process – press and hold the “Control Lock” pad for three seconds. The lock indicator will disappear, restoring normal operation.
Important Note: The manual specifies that the Control Lock function does not interrupt an ongoing bake or broil cycle. It only prevents new settings from being entered. Always double-check the indicator light to confirm lock status, ensuring safety and preventing accidental changes to cooking programs.
Temperature Calibration
Temperature Calibration, as outlined in the GE GRF500PVES User Manual, allows for fine-tuning of the oven temperature display to match actual cooking temperatures. This is useful if you notice consistent discrepancies between the set temperature and observed cooking results. Access calibration mode by pressing and holding the “Bake” pad for five seconds; the display will show the current temperature offset.
Use the number pads to adjust the temperature, increasing or decreasing in increments of 10 degrees Fahrenheit. Positive values increase the temperature, while negative values decrease it. After setting the desired offset, press “Bake” again to save the calibration.
Caution: The manual advises against excessive calibration adjustments. Small adjustments are recommended. If significant calibration is needed, contact GE appliance service for professional assistance to ensure accurate and safe oven operation.
Sabbath Mode Operation
Sabbath Mode, detailed in the GE GRF500PVES User Manual, is designed to comply with Jewish Sabbath observance guidelines. Activating this mode disables several oven functions, preventing operation during the Sabbath. To initiate, press and hold the “Sabbath Mode” pad for three seconds. The display will illuminate, indicating activation.
While in Sabbath Mode, the oven will maintain a consistent temperature once set, but the timer, automatic shut-off, and control lock features are disabled. The oven light will also remain on continuously. To deactivate, repeat the process of pressing and holding the “Sabbath Mode” pad for three seconds.
Important Note: The manual stresses that the oven door cannot be opened during the baking process while in Sabbath Mode, as this may affect temperature stability.
Warm Hold Feature
The Warm Hold feature on the GE GRF500PVES, as outlined in the User Manual, keeps cooked food at a serving temperature without further cooking. Accessed through the control panel, this function is ideal for holding casseroles, baked potatoes, or other dishes. To activate, press the “Warm Hold” pad after the bake cycle has completed.
The oven will automatically maintain a temperature between 170°F and 200°F. The manual recommends using Warm Hold for a maximum of three hours to maintain food quality and safety. It’s crucial to avoid using this feature for perishable items requiring refrigeration.
To deactivate Warm Hold, simply press the “Off” or “Cancel” pad on the control panel. The User Manual cautions against leaving food unattended for extended periods while using this feature.
Troubleshooting Common Issues
Refer to the GE GRF500PVES User Manual for detailed solutions to frequent problems, including heating failures, control panel errors, and self-clean cycle difficulties.
Range Not Heating
If your GE GRF500PVES range isn’t heating, consult the User Manual first. Begin by verifying the power supply – ensure the range is properly plugged into a functioning outlet and the circuit breaker hasn’t tripped. Check that the control panel isn’t displaying any error codes indicating a specific issue.
Next, confirm the selected bake or cooktop element is activated. Sometimes, a simple oversight can be the culprit! If using the bake function, ensure it’s set to the desired temperature and mode. For cooktop elements, verify they are turned on to the appropriate heat level.
The User Manual details how to test the oven temperature sensor, a common cause of heating problems. A faulty sensor may require replacement. If these steps don’t resolve the issue, the manual advises contacting a qualified service technician for further diagnosis and repair, as internal components may be malfunctioning.
Control Panel Not Responding
A non-responsive control panel on your GE GRF500PVES range requires systematic troubleshooting, as detailed in the User Manual. Initially, confirm the range receives power – check the outlet and circuit breaker. If power is confirmed, attempt a reset by briefly switching off the breaker controlling the range for one minute, then restoring it.
The User Manual suggests checking if the Control Lock mode is activated. If so, disable it following the instructions in the manual. A stuck or unresponsive button can also cause issues; gently press each button to ensure it isn’t physically jammed.
If the panel remains unresponsive after these steps, the manual indicates a potential electronic control board failure. This requires professional diagnosis and repair by a qualified appliance technician. Do not attempt to disassemble or repair the control board yourself, as this could void the warranty and pose a safety hazard.
Self-Clean Cycle Problems
The GE GRF500PVES range’s self-clean cycle, as outlined in the User Manual, can encounter issues. A common problem is the door not locking properly; ensure nothing obstructs the locking mechanism. The manual stresses removing all racks, cookware, and aluminum foil before initiating the cycle. Failure to do so can cause damage.
If the cycle starts but doesn’t reach temperature, a faulty oven temperature sensor might be the cause, requiring professional attention. Excessive smoke during the cycle is normal, but if it’s unusually heavy, immediately stop the cycle and ventilate the kitchen. The User Manual advises against using cleaning products during or immediately after a self-clean.
Error codes related to the self-clean cycle are detailed in the manual’s troubleshooting section. If an error persists, consult a qualified technician for diagnosis and repair, avoiding any attempts at self-repair.
Error Codes & Their Meanings
The GE GRF500PVES range, as detailed in the User Manual, utilizes error codes to signal malfunctions. A code like “F1” often indicates a faulty temperature sensor, requiring professional service. “F2” typically signals an issue with the igniter, impacting heating performance. The manual emphasizes that attempting repairs based solely on error codes is discouraged.
“F3” can point to a problem with the oven’s control board, while “F4” might indicate a door switch malfunction. Codes related to the cooktop elements, such as “E1” or “E2”, usually suggest element failure or wiring issues. The User Manual provides a comprehensive list of codes and their preliminary meanings.
Always consult a qualified technician for accurate diagnosis and repair. Ignoring error codes or attempting unauthorized fixes can void the warranty and potentially create safety hazards. Refer to the manual’s troubleshooting section for further guidance.
Maintenance & Care
The GE GRF500PVES User Manual stresses regular cleaning and proper ventilation for optimal performance and longevity, ensuring safe and efficient operation consistently.
Cleaning the Cooktop
Regular cooktop cleaning is crucial for maintaining the performance and appearance of your GE GRF500PVES electric range, as detailed in the user manual. Always ensure the cooktop is completely cool before beginning any cleaning process to prevent burns. For everyday spills and splatters, a simple wipe-down with a damp cloth and mild dish soap is usually sufficient.
For more stubborn, baked-on messes, the manual recommends using a non-abrasive cooktop cleaning cream specifically designed for ceramic or glass cooktops. Apply the cream, gently rub with a soft cloth or sponge, and then wipe clean. Avoid using abrasive cleaners, scouring pads, or harsh chemicals, as these can scratch and damage the cooktop surface.
Remove any removable burner elements before cleaning underneath them. Pay attention to the areas around the burner elements, as food particles can accumulate there. Rinse thoroughly with clean water and dry with a soft cloth to prevent water spots. Consistent cleaning will prevent buildup and make future cleaning easier.
Cleaning the Oven Interior
Maintaining a clean oven interior on your GE GRF500PVES is essential for optimal cooking performance, as outlined in the user manual. Before cleaning, ensure the oven is cool and disconnected from power. For light cleaning, a damp cloth with mild dish soap can remove most food residue.
For heavier buildup, the manual suggests using the self-clean cycle (see separate section) or a commercially available oven cleaner, following the product’s instructions carefully. When using oven cleaner, ensure adequate ventilation and protect surrounding surfaces. Avoid spraying cleaner on the heating elements or the oven door gasket.
After cleaning, wipe the interior thoroughly with a clean, damp cloth to remove any cleaner residue. For stubborn spots, a paste of baking soda and water can be effective. Do not use abrasive cleaners or scouring pads, as they can damage the oven’s interior finish. Regular cleaning prevents smoke and odors during cooking.
Replacing the Oven Light
To replace the oven light in your GE GRF500PVES, as detailed in the user manual, first disconnect the range from power to prevent electrical shock. The oven light is located inside the oven cavity, typically at the rear. Accessing the light usually involves removing a small cover plate, often held in place by screws or clips.
Once the cover is removed, you can carefully unscrew the old light bulb. The manual specifies using a 40-watt appliance bulb; do not exceed this wattage. Handle the new bulb with care, avoiding direct contact with the glass. Screw in the new bulb securely, but do not overtighten.
Replace the cover plate, ensuring it is properly secured. Reconnect the range to power and test the new light. If the light doesn’t illuminate, double-check the bulb is correctly installed and the range is receiving power. Dispose of the old bulb safely.
Proper Ventilation Requirements
The GE GRF500PVES range requires adequate ventilation, as outlined in the user manual, to ensure safe and efficient operation. Proper ventilation prevents the buildup of combustion byproducts and helps maintain a comfortable kitchen environment. A ventilation hood is strongly recommended, ideally one that vents to the outside.
If a ventilation hood isn’t available, ensure the kitchen is well-ventilated by opening windows or using a fan. Maintain a minimum clearance of 13 inches between the range top and any unprotected cabinet overhang. The manual emphasizes avoiding obstructions to airflow around the range.
Insufficient ventilation can lead to moisture condensation, odors, and potential health hazards. Regularly inspect the ventilation system to ensure it’s functioning correctly. Follow local building codes regarding range ventilation requirements for optimal safety and performance.
Technical Specifications
Refer to the GE GRF500PVES manual for precise dimensions, weight, and electrical specifications, including voltage, amperage, and wattage requirements for installation.
Dimensions & Weight
According to the GE GRF500PVES user manual, understanding the range’s physical specifications is crucial for proper installation and ensuring it fits comfortably within your kitchen space. The overall width of the appliance typically measures around 29 3/4 inches, allowing for integration into standard range cutouts. Depth, including the handle, generally extends to approximately 28 1/2 inches, while the height, without leveling legs, is usually around 40 inches.
However, always verify these measurements directly from your specific model’s manual, as slight variations can occur. The shipping weight of the GRF500PVES is substantial, often exceeding 200 pounds. This considerable weight necessitates careful handling during delivery and installation to prevent damage or injury. Proper lifting techniques and assistance are strongly recommended when moving the range. Detailed dimensional diagrams are included within the official GE documentation for precise planning.
Electrical Requirements
As detailed in the GE GRF500PVES user manual, this electric range requires a dedicated 240-volt electrical circuit, typically with a 50-amp breaker. It’s crucial to confirm your home’s electrical system meets these specifications before installation to avoid potential hazards or damage to the appliance. The range utilizes a NEMA 14-50R receptacle, a standard configuration for heavy-duty appliances.
Incorrect wiring can lead to malfunctions or even create a fire risk, so professional installation by a qualified electrician is strongly advised. The manual explicitly warns against using extension cords or adapters, as they are not designed to handle the high power demands of an electric range. Ensure the electrical outlet is properly grounded for safety. Refer to the manual’s wiring diagram for precise connection instructions and always adhere to local electrical codes.