Welcome to the Rainbow Loom Instruction Manual‚ your comprehensive guide to creating stunning bracelets‚ charms‚ and accessories․ Perfect for beginners and experts alike‚ this manual offers clear‚ step-by-step instructions and inspiration to unlock your full creative potential․ Start crafting today!
What is the Rainbow Loom?
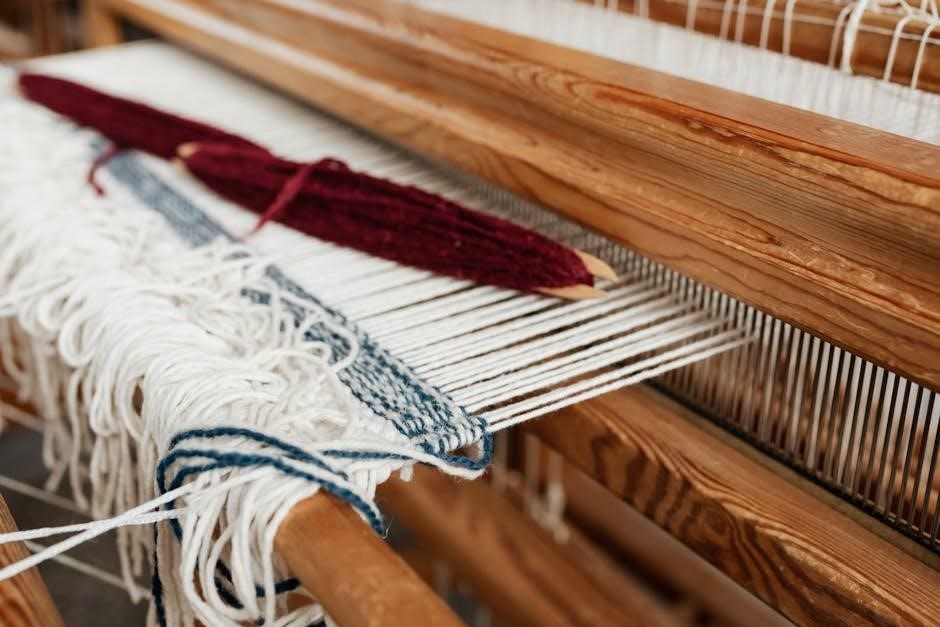
The Rainbow Loom is a revolutionary crafting tool designed to create colorful jewelry and accessories using rubber bands․ It consists of a plastic board with pegs arranged in a grid‚ allowing users to weave and loop bands into intricate designs․ This versatile device is popular among crafters of all ages‚ enabling the creation of bracelets‚ rings‚ charms‚ and more․ Its simplicity and creativity make it a favorite for both beginners and experienced crafters․ The Rainbow Loom fosters creativity‚ fine motor skills‚ and patience‚ making it an engaging activity for individuals and groups․ With its compact design and endless possibilities‚ it’s a must-have for anyone interested in DIY jewelry making․
History and Popularity of the Rainbow Loom
The Rainbow Loom was invented by Cheong Choon Ng in 2010‚ inspired by his daughter’s interest in making bracelets․ By 2013‚ it became a global phenomenon‚ particularly among children and teenagers․ Its simplicity and versatility made it a favorite‚ enabling users to craft various jewelry pieces using rubber bands․ The loom’s affordability and the creativity it inspired contributed to its rapid popularity․ It not only provided entertainment but also fostered social interaction as kids exchanged designs and patterns․ The availability of instruction manuals‚ including downloadable PDF versions‚ further facilitated its adoption․ The Rainbow Loom’s influence extended beyond crafting‚ becoming a cultural trend that promoted creativity‚ fine motor skills‚ and problem-solving abilities among its users․
Why Use a Rainbow Loom Instruction Manual?
A Rainbow Loom Instruction Manual is an essential tool for anyone looking to master the art of creating bracelets‚ charms‚ and other accessories․ It provides clear‚ step-by-step guidance‚ making it easier for beginners to learn the basics and for experienced users to refine their skills․ The manual helps users understand proper band placement‚ looming techniques‚ and how to troubleshoot common issues․ It also introduces various patterns and designs‚ allowing crafters to explore their creativity․ With detailed instructions and visual aids‚ the manual accelerates the learning process and ensures projects turn out as expected․ For those who prefer digital convenience‚ PDF versions of the manual are widely available‚ offering portability and easy access․ Whether you’re a novice or an advanced crafter‚ the manual serves as a comprehensive guide to unlocking the full potential of your Rainbow Loom․
Getting Started with the Rainbow Loom
Starting your Rainbow Loom journey can be exciting but overwhelming․ Refer to the instruction manual for guidance on setting up your loom and understanding its components․
Essential Supplies Needed
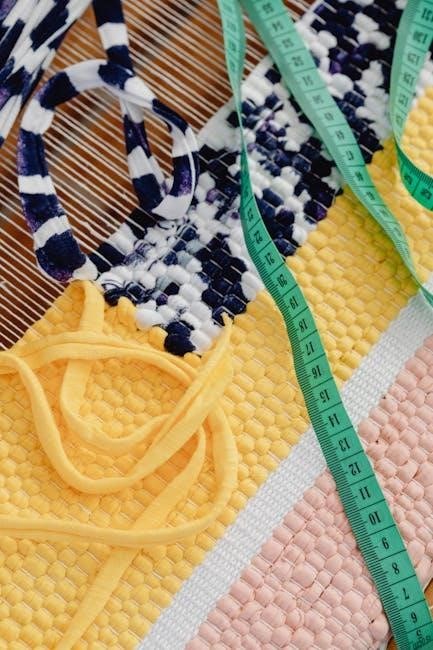
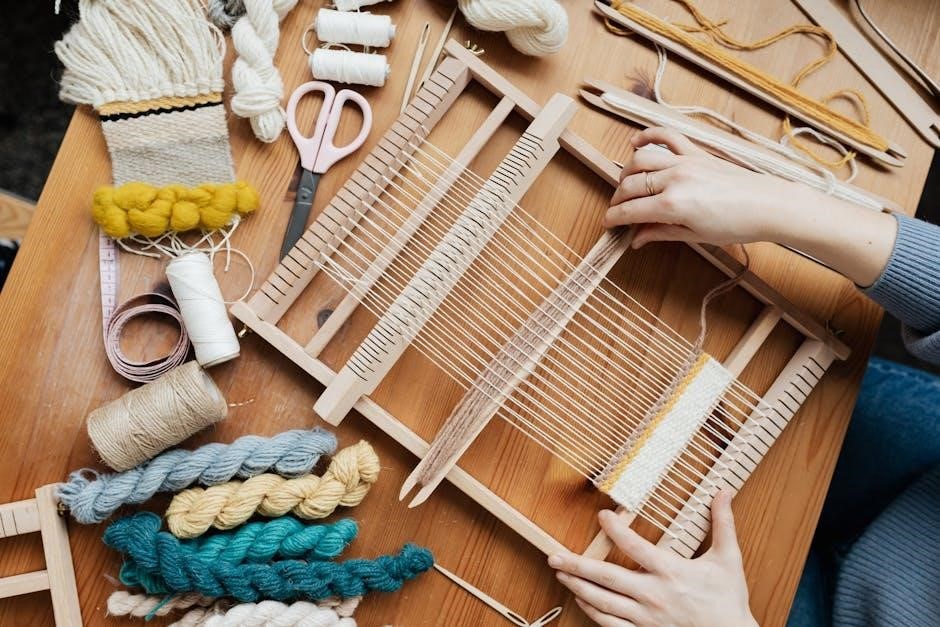
To begin crafting with the Rainbow Loom‚ you’ll need a few key supplies․ First‚ you’ll need the Rainbow Loom itself‚ which includes the loom board and a hook tool․ Rubber bands are the primary material for creating bracelets‚ charms‚ and other designs․ You’ll also need S-clips or C-clips to secure your creations․ Additional accessories like a silicone mat or pegboard can help keep your bands organized․ For more intricate designs‚ consider having a variety of band colors and possibly a measuring tape for sizing․ Refer to the Rainbow Loom instruction manual PDF for a detailed list of supplies and recommendations to ensure you’re fully prepared for your projects․
Setting Up Your Rainbow Loom
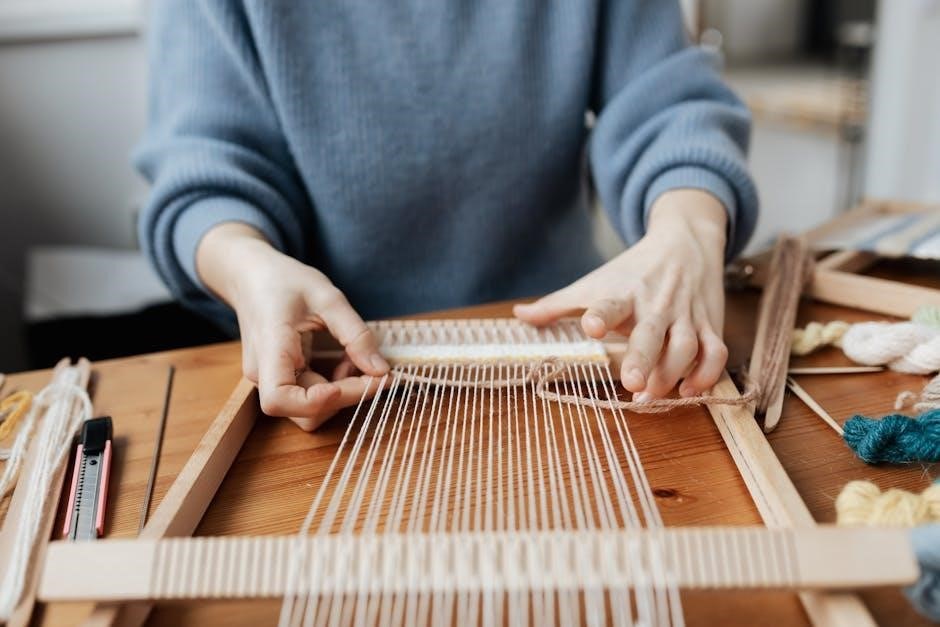
Setting up your Rainbow Loom is a straightforward process that ensures you’re ready to start crafting․ Begin by placing the loom on a flat‚ stable surface․ The loom typically comes pre-assembled‚ but make sure all pegs are securely fitted․ If your model includes adjustable legs‚ attach them to the base for added stability․ Next‚ organize your rubber bands and clips within easy reach․ The hook tool is essential for looping and securing bands‚ so keep it nearby․ Position the loom at a comfortable angle to allow easy access to all pegs․ For precise sizing‚ consider using a measuring tape to adjust the loom’s length․ Refer to the Rainbow Loom instruction manual PDF for specific setup instructions and diagrams to ensure everything is correctly positioned for your first project․
Understanding the Basic Components
The Rainbow Loom consists of several key components that work together to create your designs․ The main loom is a rectangular or square frame with evenly spaced pegs‚ which hold the rubber bands in place․ The hook tool is used to loop and secure the bands‚ while the measuring tape helps measure wrist sizes for bracelets․ Small plastic clips are included to finish your projects‚ and rubber bands come in various colors for customization․ The instruction manual PDF provides detailed visuals to identify and understand each part․ Familiarizing yourself with these components is crucial for mastering the loom․ Start by examining each tool and its function to ensure smooth crafting․ This foundational knowledge will help you navigate the manual’s instructions with confidence․
Basic Rainbow Loom Projects
Start with simple yet creative projects like bracelets‚ charms‚ and rings․ These beginner-friendly designs introduce fundamental techniques using rubber bands and basic loom tools․ They build confidence and skills‚ forming the foundation for more complex creations․ Explore various patterns and designs tailored for newcomers‚ ensuring a smooth transition to advanced levels․ These projects are perfect for mastering the basics and unlocking your creativity with the Rainbow Loom․
Step-by-Step Guide to Making a Simple Bracelet
To create a simple bracelet‚ begin by setting up your Rainbow Loom with the correct orientation․ Place a rubber band on the first peg‚ looping it to secure it in place․ Continue adding bands row by row‚ using a crochet hook to loop them over each peg․ Once you’ve completed the desired length‚ use a C-clip to fasten the end․ Remove the bracelet from the loom and enjoy your finished product․ This project introduces essential techniques for beginners‚ such as band placement and looping‚ and serves as a great foundation for more intricate designs․ Always use high-quality rubber bands and follow the manual’s guidance for the best results․
Creating Your First Charm
Creating your first charm is an exciting step in mastering the Rainbow Loom․ Start by selecting a single rubber band and looping it around the first peg to form the base of your charm․ Use the crochet hook to secure the band tightly․ Next‚ add a second band perpendicular to the first‚ creating a small loop․ Continue this process‚ adding bands in alternating directions to build the charm’s structure․ Once complete‚ use the hook to carefully remove the charm from the loom and trim any excess bands․ This simple charm can be customized with different colors or patterns‚ making it a versatile accessory for bracelets or keychains․ Practice this technique to refine your skills for more complex designs․
How to Make a Basic Ring
To create a basic ring using the Rainbow Loom‚ begin by placing a single rubber band on the first peg‚ looping it around to form a small circle․ This will serve as the base of your ring․ Next‚ add a second band on top of the first‚ ensuring it is securely hooked․ Repeat this process‚ moving from one peg to the next‚ until you have covered all desired pegs․ Use the crochet hook to tightly secure each band․ Once complete‚ carefully remove the ring from the loom and trim any excess bands․ This simple ring can be worn as-is or embellished with additional charms․ With practice‚ you can adjust the tightness and size to achieve the perfect fit․
Advanced Rainbow Loom Patterns
Explore intricate designs with advanced Rainbow Loom patterns․ Create complex weaves‚ 3D structures‚ and multi-layered designs․ Elevate your skills with challenging yet rewarding projects‚ perfect for experienced crafters․
Intermediate-Level Bracelet Designs
Once you’ve mastered the basics‚ dive into intermediate bracelet designs that showcase your growing skills․ Explore patterns like the Fishtail‚ Rainbow‚ and Double-Fishtail‚ which introduce more complex weaves and layering․ Learn to incorporate multiple colors seamlessly and experiment with textured designs using different band placements․ These projects build on foundational techniques‚ teaching you how to create visually appealing and intricate pieces․ Discover how to add embellishments like beads or charms for a personalized touch․ Intermediate designs are perfect for refining your tension control and band placement accuracy․ With practice‚ you’ll achieve professional-looking bracelets that stand out․ Customize these patterns further by experimenting with color combinations and band types to create unique designs․
Expert-Level Charms and Accessories
Take your Rainbow Loom skills to the next level with expert-level charm and accessory designs․ These intricate patterns demand precision and creativity‚ allowing you to craft stunning‚ one-of-a-kind pieces․ Learn advanced techniques like 3D shaping‚ multi-layered weaves‚ and precision band placement to create complex charms․ Discover how to incorporate beads‚ sequins‚ and other embellishments for added elegance․ From delicate anklets to elaborate keychains‚ these projects push your crafting boundaries․ Experiment with hybrid designs that blend different styles for unique results․ Perfect for experienced crafters‚ these expert-level projects showcase your mastery of the Rainbow Loom‚ enabling you to create professional-quality accessories that impress․ Unleash your creativity and elevate your designs with these challenging yet rewarding patterns․
Complex Ring and Necklace Patterns
For experienced crafters‚ complex ring and necklace patterns offer a challenge and showcase advanced techniques․ These designs often involve intricate weaves‚ multiple loops‚ and layered bands to create dimensional effects․ Patterns like the “Hexafish” ring or the “Infinite Wrap” necklace demonstrate precision and creativity․ Learn to craft interlocking rings‚ spiral necklaces‚ and geometric designs that stand out․ These projects require patience and skill‚ but the results are breathtaking․ Use metallic or glow-in-the-dark bands for a modern twist․ With practice‚ you can create elaborate accessories that are both functional and decorative․ These patterns are perfect for those looking to push their Rainbow Loom skills to new heights and create truly unique jewelry pieces․
Tips and Tricks for Mastering the Rainbow Loom
- Stay organized: Keep bands and tools tidy for easy access․
- Use quality bands: Choose durable‚ vibrant bands for best results․
- Control tension: Even pressure ensures tight‚ professional-looking weaves․
- Anchor properly: Secure loops to prevent unraveling during projects․
- Practice patience: Mastery takes time; don’t rush intricate designs․
Common Mistakes to Avoid
When working with the Rainbow Loom‚ it’s essential to avoid common pitfalls to ensure successful projects․ One of the most frequent errors is not anchoring the first loop properly‚ which can cause the entire design to unravel․ Another mistake is overstretching the rubber bands‚ leading to a loose and misshapen final product․ Additionally‚ some users forget to press the bands firmly onto the pegs‚ resulting in a messy or uneven weave․ Using too many bands at once can also complicate the process‚ making it harder to manage․ Lastly‚ neglecting to follow the manual’s step-by-step instructions can lead to frustration and wasted materials․ By being mindful of these mistakes‚ crafters can achieve professional-looking results with ease․
Optimizing Your Crafting Time
To make the most of your time while using the Rainbow Loom‚ consider a few key strategies․ Start by organizing your supplies‚ such as rubber bands and hooks‚ in a designated workspace to avoid wasted time searching for materials․ Pre-cutting rubber bands into smaller sections can also streamline the process․ Additionally‚ practicing basic techniques like looping and band placement will help you work more efficiently․ Using the correct tension when stretching bands ensures your project progresses smoothly without constant adjustments․ Finally‚ breaking your crafting session into shorter‚ focused intervals can enhance productivity and reduce fatigue․ By implementing these tips‚ you can complete your Rainbow Loom projects quickly and enjoy a more satisfying crafting experience․
Creative Ways to Customize Your Designs
Customizing your Rainbow Loom projects allows you to add a personal touch and make your creations stand out․ Experiment with different color combinations by using multicolored rubber bands or layering solid colors for unique effects․ Incorporate beads or sequins to add texture and visual interest․ Try mixing patterns‚ such as alternating single and double loops‚ to create intricate designs․ For a more personalized look‚ use charms or small trinkets that reflect your style․ You can also blend different band types‚ like glow-in-the-dark or metallic bands‚ for a modern twist․ Finally‚ explore unconventional materials‚ such as fabric strips or yarn‚ to create one-of-a-kind accessories․ These creative tweaks will transform your basic designs into truly unique pieces․
Additional Resources for Rainbow Loom Enthusiasts
Explore online communities‚ forums‚ and social media groups dedicated to Rainbow Loom crafting․ Discover inspiration‚ share designs‚ and learn from fellow enthusiasts worldwide․ Official websites and email newsletters often provide exclusive tips‚ updates‚ and patterns to enhance your creativity and skills․
Online Video Tutorials and Guides
Online video tutorials and guides are an excellent way to master Rainbow Loom techniques․ Platforms like YouTube and crafting websites offer step-by-step demonstrations for various projects‚ from simple bracelets to intricate designs․ These videos provide visual guidance‚ making it easier to understand complex patterns and troubleshooting common mistakes․ Many official Rainbow Loom channels and experienced crafters share tips‚ hacks‚ and creative ideas to enhance your crafting skills․ Additionally‚ video guides often complement the instruction manual‚ offering a hands-on learning experience․ Whether you’re a beginner or an advanced crafter‚ these resources help you refine your techniques and explore new possibilities for your Rainbow Loom creations․
PDF Downloads and Printable Instructions
PDF downloads and printable instructions are invaluable resources for mastering the Rainbow Loom․ Official and third-party websites offer downloadable guides that include detailed step-by-step instructions‚ high-quality images‚ and patterns for various projects․ These PDFs are perfect for offline use‚ allowing you to print and refer to them anytime․ Many manuals are designed to be user-friendly‚ with clear diagrams and tutorials for both beginners and advanced crafters․ Printable instructions also let you organize your favorite patterns and techniques in a physical notebook or binder․ Whether you prefer digital or physical copies‚ these resources ensure you have everything you need to create stunning Rainbow Loom designs at your fingertips․
Joining the Rainbow Loom Community
Joining the Rainbow Loom community connects you with thousands of enthusiasts worldwide who share ideas‚ patterns‚ and tips․ Online forums‚ social media groups‚ and specialized websites are hubs for collaboration and inspiration․ Many members showcase their creations‚ offering motivation and creative challenges․ By participating‚ you gain access to exclusive content‚ including shared PDF manuals and unique designs․ The community fosters learning and growth‚ allowing you to refine your skills and explore new techniques․ Whether you’re a beginner or an expert‚ becoming part of the Rainbow Loom community enhances your crafting journey and keeps you connected to a passionate and supportive group of creators․